Deploy Your Own Openclaw AI Assistant for Free
Spin up your own AI assistant on GitHub Codespaces at zero cost

No GPU? Don’t feel like paying for a server?
This guide shows you how to deploy Openclaw on GitHub Codespaces using free resources, so you can start running your own AI assistant in minutes.
※ This article assumes you are familiar with basic GitHub usage
What is GitHub Codespaces?
GitHub Codespaces is a cloud-based development environment provided by GitHub.
It allows you to create and manage a fully configured dev environment directly in your browser or through Visual Studio Code.
It’s not designed to be used as a VPS—but it turns out, it works surprisingly well for that purpose.
You can check the pricing here
.
For personal accounts, you get 120 free compute hours per month, which is more than enough for experimentation and prototyping.
GitHub Setup
Create a GitHub account and initialize a private repository, making sure to include a README file.
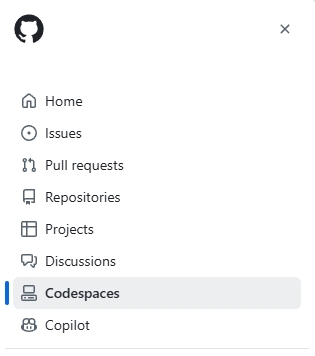
Then open the top-left menu and navigate to Codespaces.
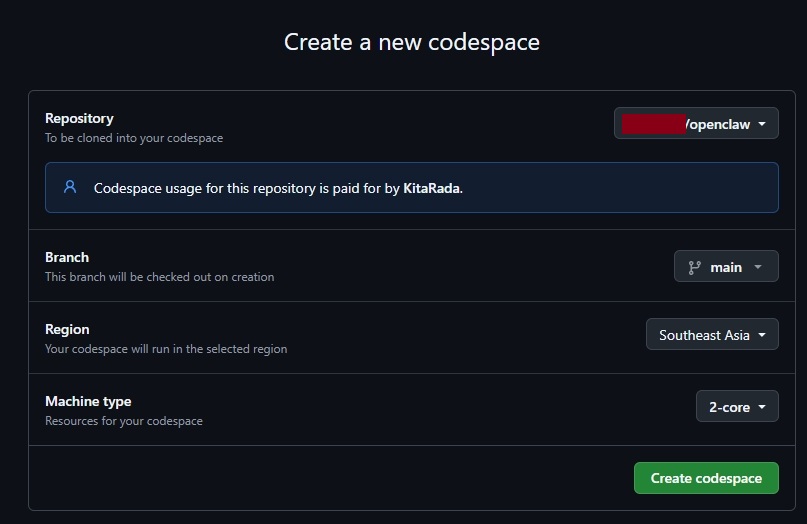
Select the repository you just created and launch a new Codespace.
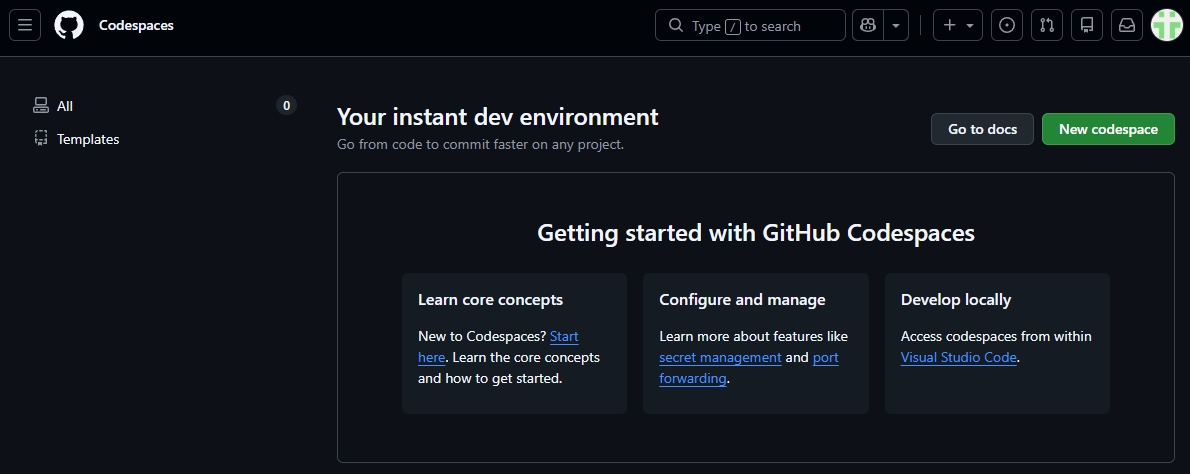
Once it’s ready, open the Codespace and proceed to the next step.
Install Gemini CLI
Next, install the model tooling you’ll be using inside the Codespace.
Start with gemini-cli, which lets you access Google’s Gemini models:
npm install -g @google/gemini-cli
※ npm is already preinstalled in GitHub Codespaces, so no extra setup is needed.
Install Openclaw
Installation is just a single command:
curl -fsSL https://openclaw.ai/install.sh | bash
Once installed, you should see the following screen:
If the onboarding screen doesn’t appear, you can enter the following command in the terminal:
openclaw onboard
You’ll be presented with various interaction and configuration options. Here’s a simplified version of the options:
◇  I understand this is personal-by-default and shared/multi-user use requires lock-down. Continue?
│  ● Yes
│
◇  Onboarding mode
│  ● Manual
│
◇  What do you want to set up?
│  ● Local gateway (this machine)
│
◇  Workspace directory
│  ● /home/codespace/.openclaw/workspace
│
◆  Model/auth provider
│  ● Google (Gemini API key + OAuth)
│
◇  Google auth method
│  ● Google Gemini CLI OAuth
│
◇  Continue with Google Gemini CLI OAuth?
│  ● Yes
To use Gemini, you’ll need to authorize Google Gemini.
- A URL will appear in the terminal, open it in your browser
- Sign in to your Google account
- After granting access, you’ll see an error page, do NOT close it
Copy the full URL (starting withhttp://localhost...) from the address bar - Paste it back into the terminal and press Enter
- Authorization will complete
- Choose a model. I’m using the
flashmodel, which is a good choice for beginners.
◇  Default model
│  ● google-gemini-cli/gemini-3-flash-preview
│
◇  Gateway port
│  ● 18789
│
◇  Gateway bind
│  ● LAN (0.0.0.0)
│
◇  Gateway auth
│  ● Token
│
◇  Tailscale exposure
│  ● Off
│
◇  How do you want to provide the gateway token?
│  ● Generate/store plaintext token
│
◇  Gateway token (blank to generate)
│  (leave empty or set your own token)
│
◇  Configure chat channels now?
│  ● No
│
◇  Configure skills now? (recommended)
│  ● No
│
◇  Enable hooks?
│  ● Skip for now
│
◇  Install Gateway service (recommended)
│  ● Yes
│
◇  Gateway service runtime
│  ● Node (recommended)
│
◆  Enable bash shell completion for openclaw?
│  ● Yes
Once finished, you’ll see a summary of the settings.
If you need to redo anything, you can rerun:
openclaw configure
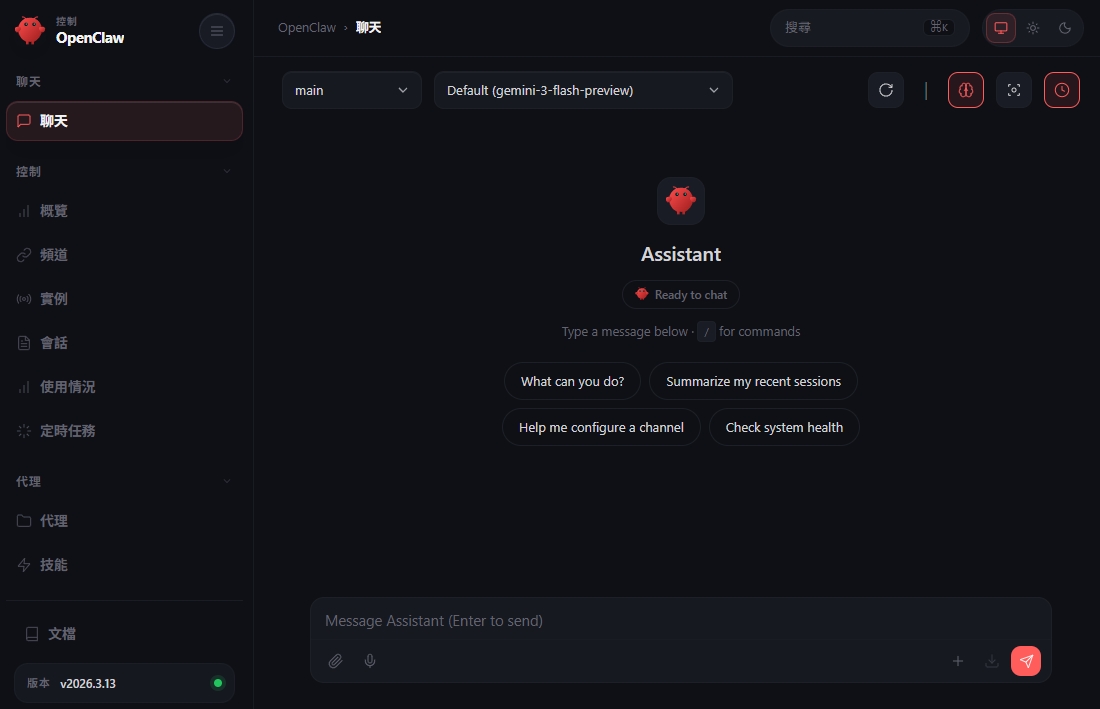
Using the Web Interface
At this point, Openclaw is configured, but you can’t use the web interface yet.
Start the gateway:
openclaw gateway
You can add -verbose to see detailed logs if needed.
Once running, you’ll see a prompt to open the communication port.
Go to the Ports tab and click the globe icon:
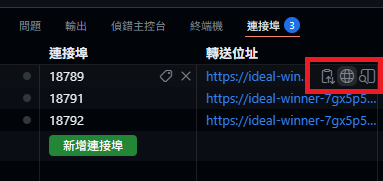
This will open a new browser tab:
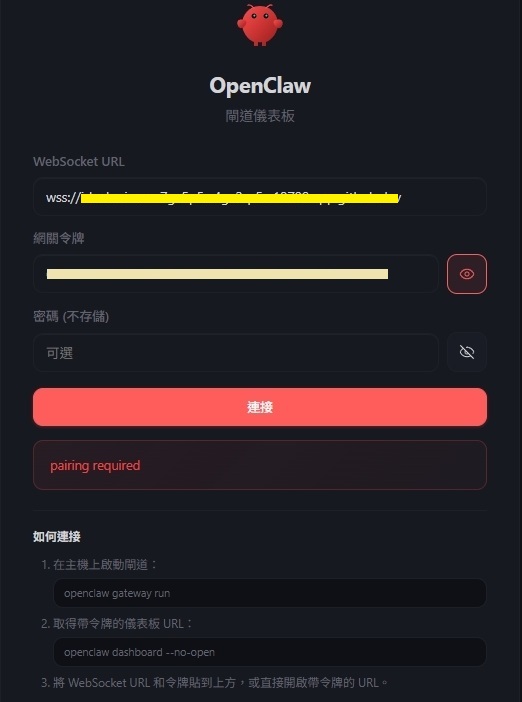
Enter your Gateway token (set earlier during setup).
If you forgot it, you can find it in the terminal output when the gateway starts.
You’ll likely see a “pairing required” message after entering the token.
This is normal, don’t worry.
Go back to the terminal and run:
openclaw devices list
You’ll see the terminal output, which includes a Pending Request.
We need to approve the connection manually.
Copy the Request ID and run:
openclaw devices approve {Request ID}
Then return to the browser, enter the token again (password is empty by default), and you’re good to go.
Your Openclaw AI assistant is now up and running.
Welcome to crab ownership 🦞